Installation of Java and Eclipse
Welcome to the 1st chapter of java, here you will mainly be learning the very basics of how to install java and Eclipse. We will be holding your hand and taking you through a complete step by step guide with screenshots. This article is all you need to learn how to install Java.
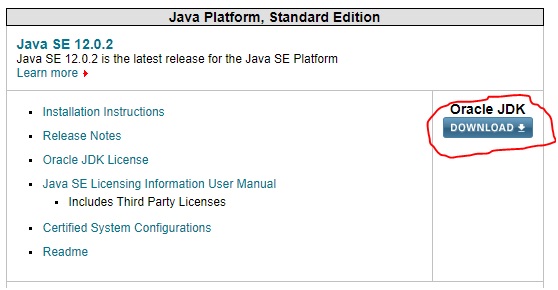
- Open http://www.oracle.com/technetwork/java/javase/downloads/index.html
- Click on Oracle JDK Download
- Click on “Accept License Agreement”

- Select Operating System to which you are downloading Java (Windows)
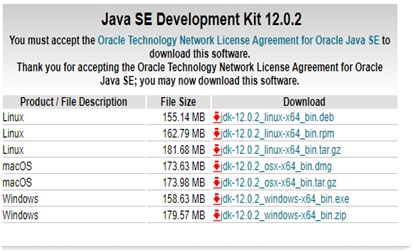
java installation - Once installation of exe is completed run exe file and keep next and close once installation is completed.
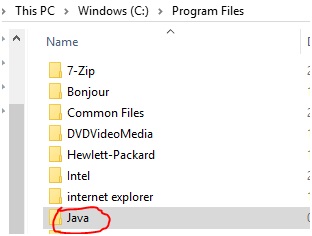
- Make sure Java folder is shown in your machine in below path: C:\Program Files
Eclipse: is a tool in which write Java code. We can even write Java code in notepad as well but it is recommended to use tools like Eclipse to write which is very user friendly.
Installation of Eclipse:
- Go browser and type URL https://www.eclipse.org/downloads/
- Click on Download 64 bit as shown in below screen

- Click on Download as shown in below screen

- You can see it in downloads folder as shown below

- Double click on above .exe file and you will see below screen
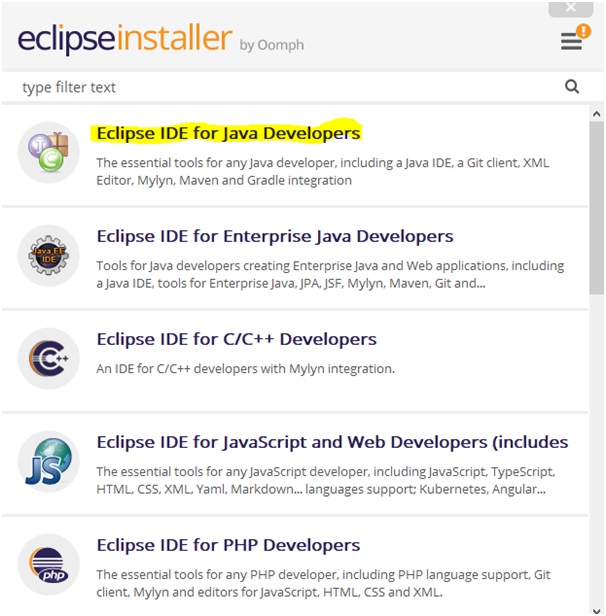
- Select Eclipse IDE for Java Developers as shown in below screen
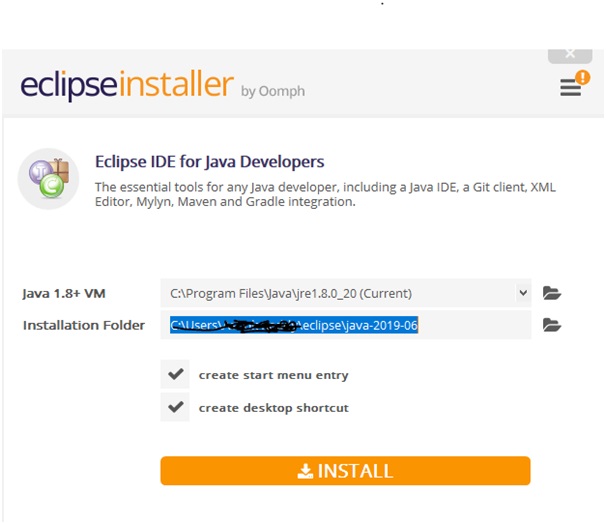
- Now click on Install
- Click on Accept Now button
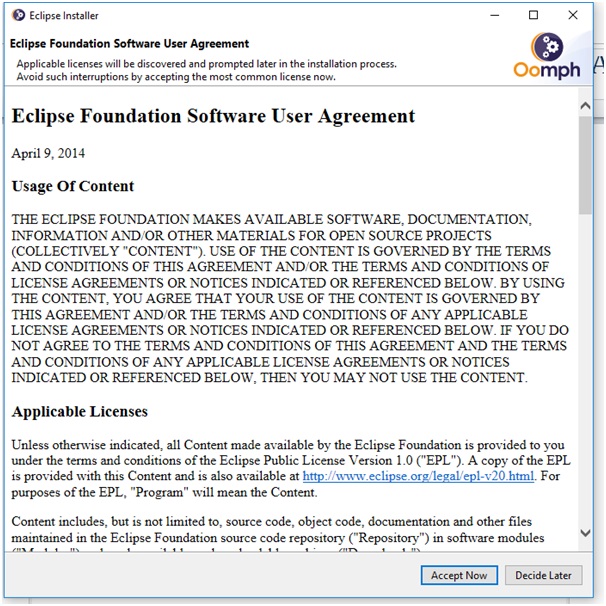
- Click on Accept as shown in below screen and wait until it installs as it will take some time
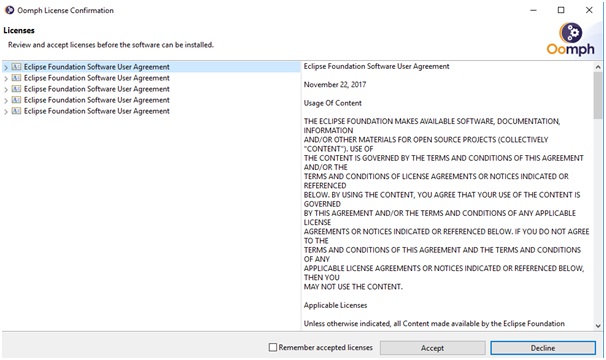
- Click on Accept Selected as shown in below screen
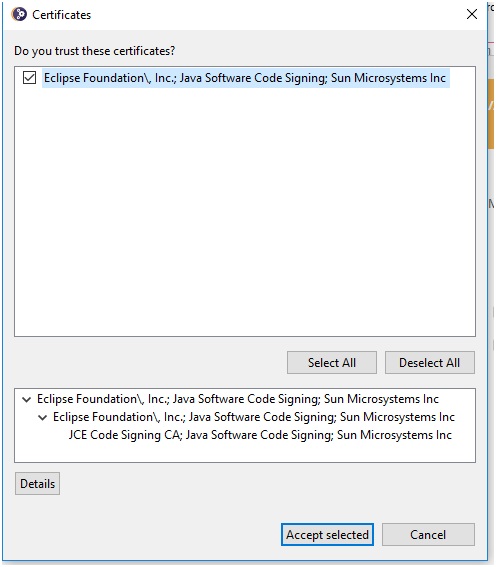
- Now click on Launch as shown in below
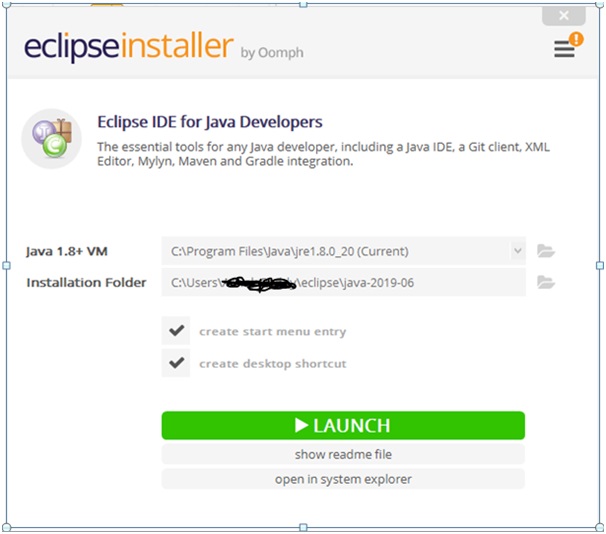
- Now again click on Launch button as shown in below screen
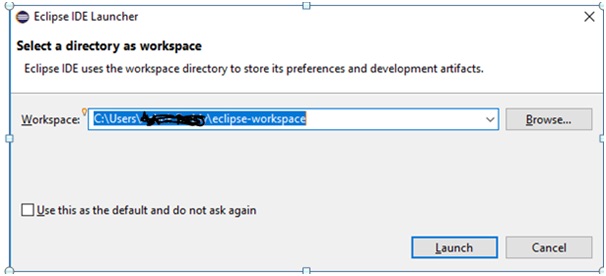
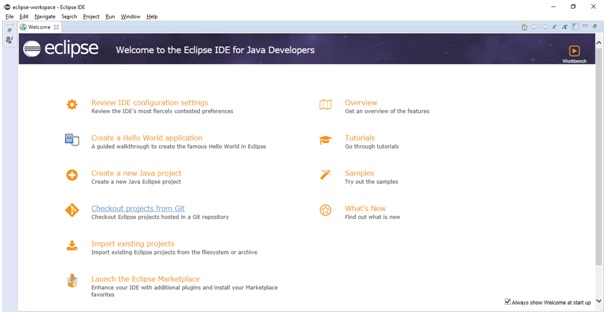
- Now you see Eclipse is launched finally as shown below
