Installation of Selenium WebDriver
Below are the steps to follow for installation of Selenium WebDriver
Before installation of Selenium WebDriver below software / tool are prerequisite in order to use WebDriver.
So will be installing below software before installation of webDriver
- Java
- Eclipse
- Installation of Selenium WebDriver
Installation of Java
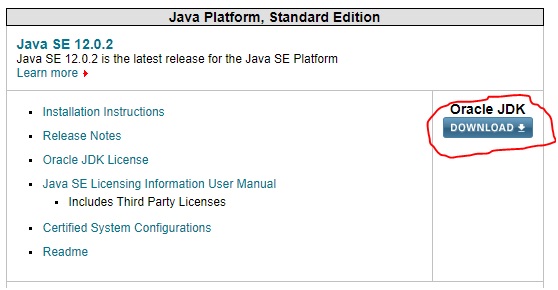
- Open http://www.oracle.com/technetwork/java/javase/downloads/index.html
- Click on Oracle JDK Download
- Click on “Accept License Agreement”

- Select Operating System to which you are downloading Java (Windows)
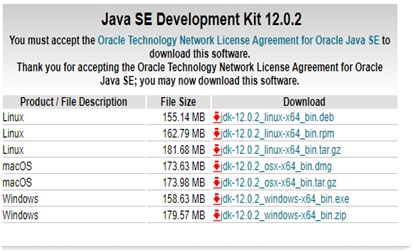
- Once installation of exe is completed run exe file and keep next and close once installation is completed.
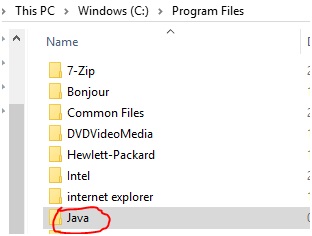
- Make sure Java folder is shown in your machine in below path: C:\Program Files
Best Selenium Online Training
Our Trainer Profile
Installation of Eclipse:
Eclipse: is a tool in which write Java code. We can even write Java code in notepad as well but it is recommended to use tools like Eclipse to write which is very user friendly.
Installation of Eclipse:
- Go browser and type URL https://www.eclipse.org/downloads/
- Click on Download 64 bit as shown in below screen

- Click on Download as shown in below screen

- You can see it in downloads folder as shown below

- Double click on above .exe file and you will see below screen

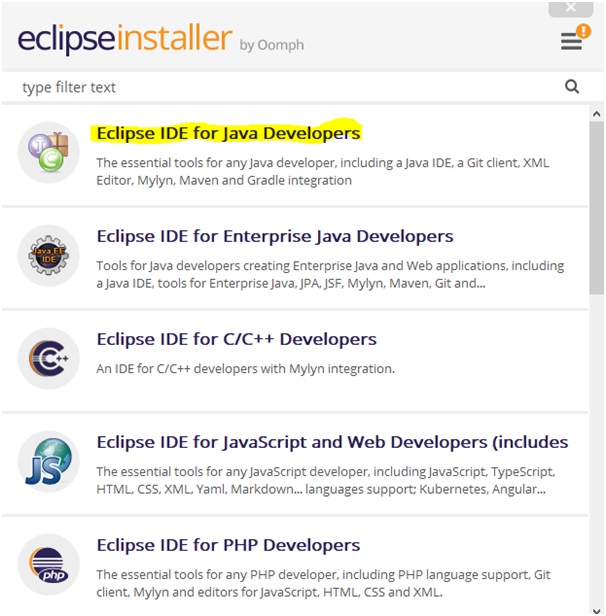
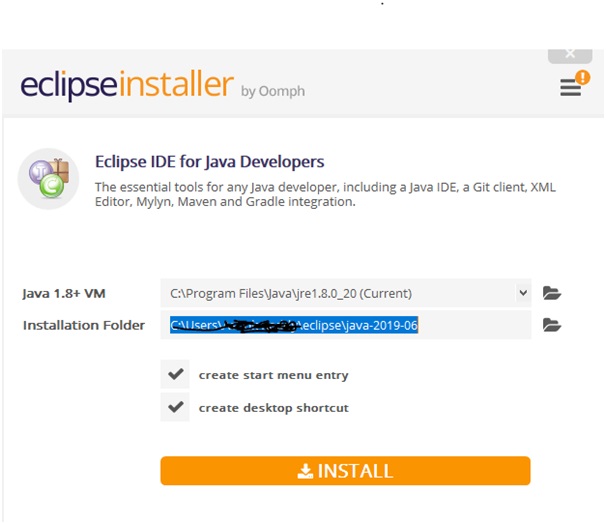
- Select Eclipse IDE for Java Developers as shown in below screen
- Now click on Install
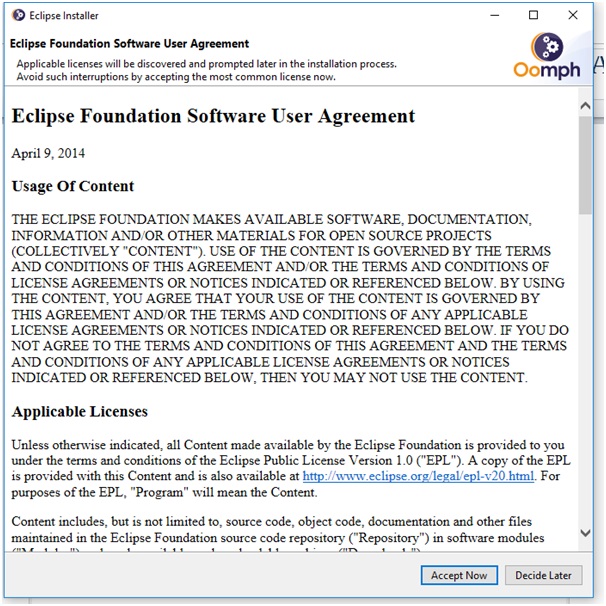
- Click on Accept Now button
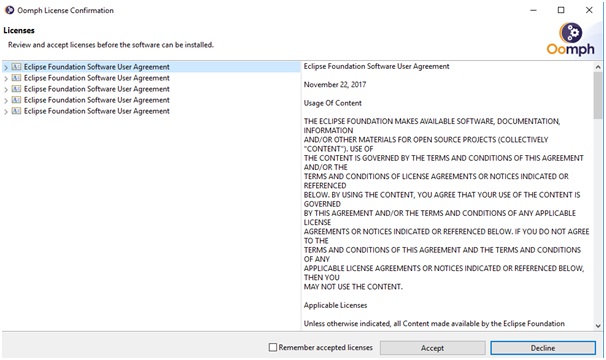
- Click on Accept as shown in below screen and wait until it installs as it will take some time
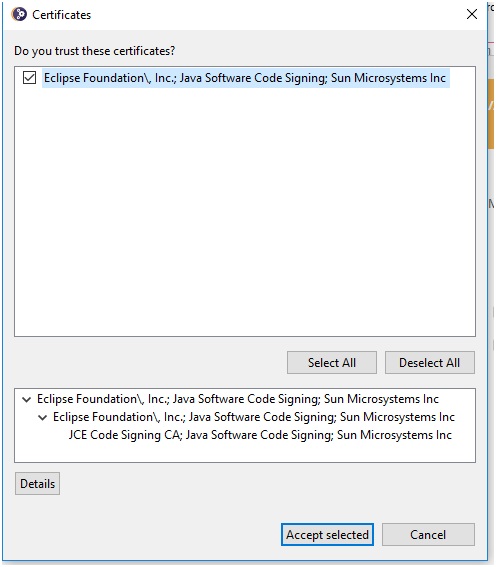
- Click on Accept Selected as shown in below screen
- Now click on Launch as shown in below
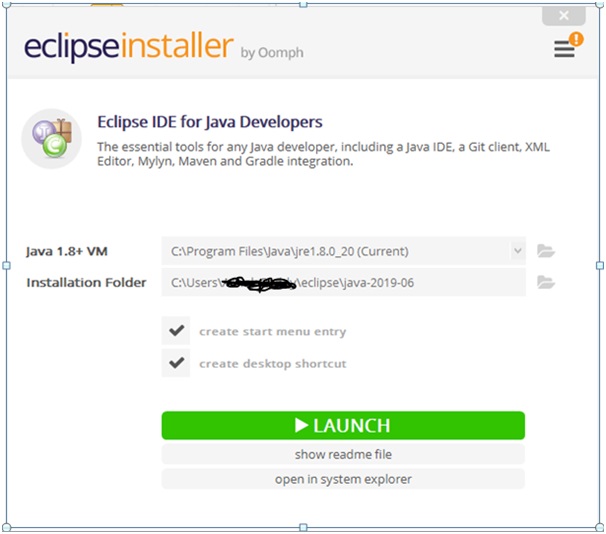
- Now again click on Launch button as shown in below screen
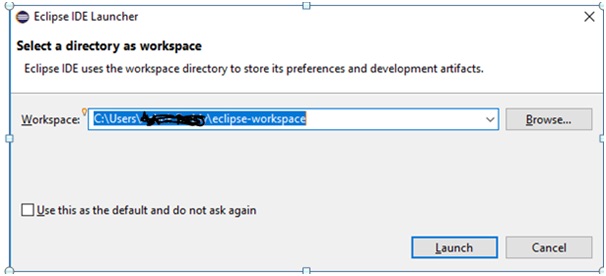
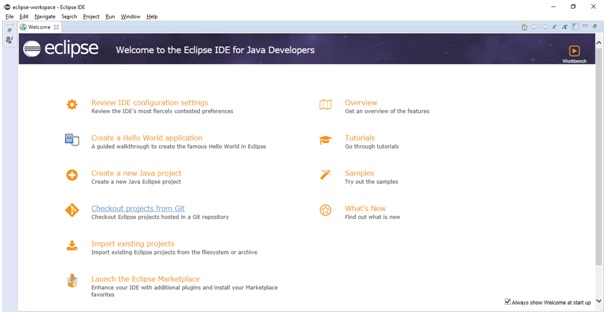
- Now you see Eclipse is launched finally as shown below
Download Webdriver java client libraries
We need to install client libraries related to language which are using in Selenium. As we are using Java as a programming language in this tutorial we need to download and configure Java client libraries,
Steps to download Java libraries
-
- Go to Selenium official website https://www.seleniumhq.org/
- Click on Downloads tab
- Click on Download for Java language
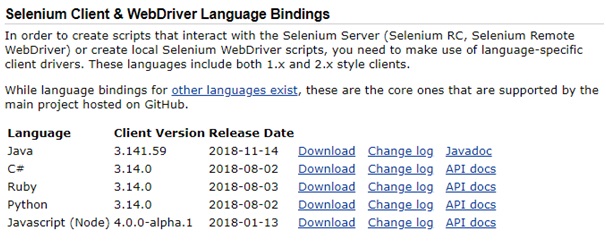
- You can see it is downloaded under download as shown below

- Now copy and Save this zip folder to some location in your system and extract them in the same location
Creating Project in Eclipse and mapping WebDriver with Eclipse tool for your project
We downloaded required software’s for Selenium WebDriver and let’s configure Selenium WebDriver with Eclipse tool.
Steps to create new project in Eclipse tool:
- Open Eclipse tool from short created on your desktop
- Click on File – New – Project a new as shown below
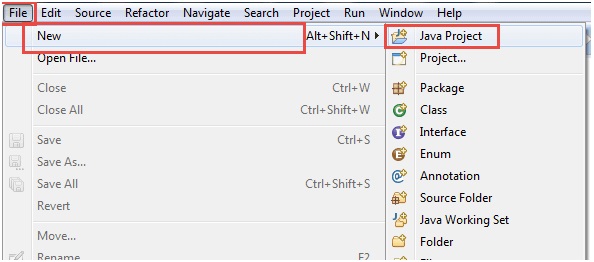
- Enter project Name and click on Next & again Next button
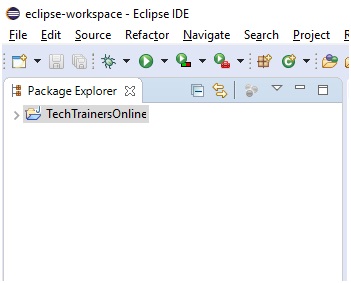
- You will see new project is created as shown below
Configuring Java client libraries with project in Eclipse tool
- Right click on project that is newly created
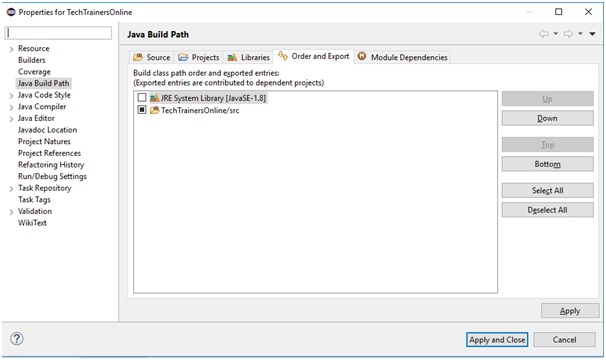
- Click on Properties and you would see below screen
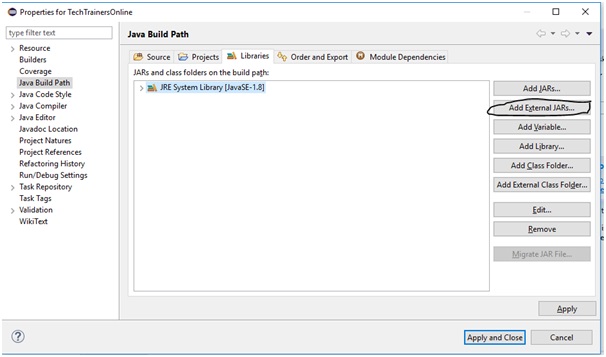
- Click on Libraries tab and click on Add External JARs as shown below
- Now Go to path where you extracted ZIP files which are downloaded and select two jar files as shown in below screen
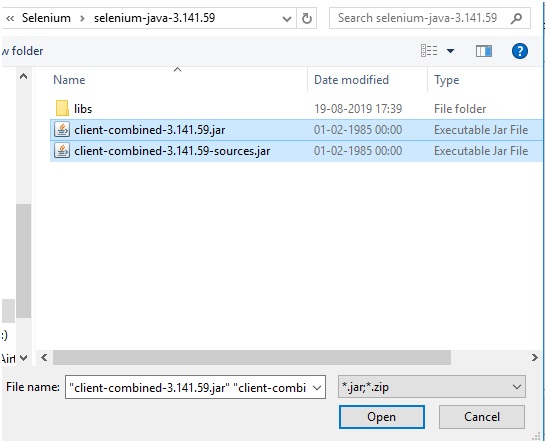
- Click on Open button
- Click again Add External JAR’s and double click libs folder and select all the JAR files as shown in below screen
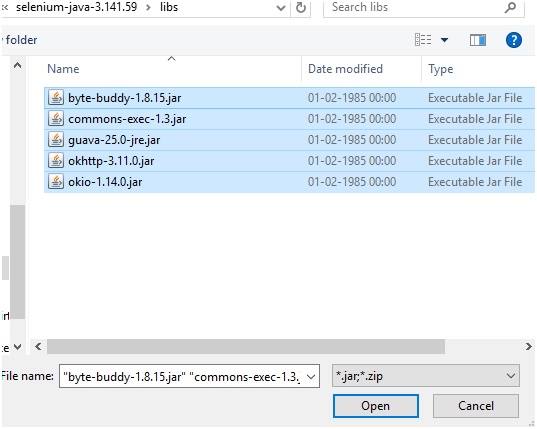
- Click on Open button and you would see all JAR’s are mapped to your project as shown in below screen.
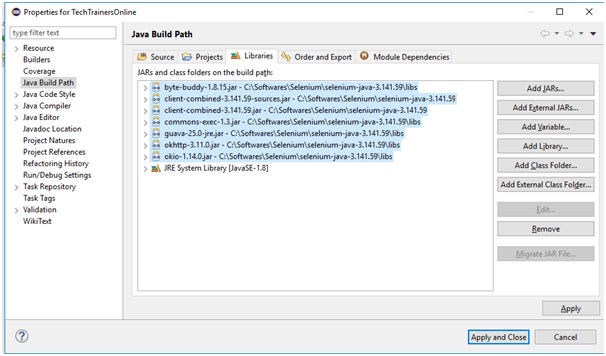
- Click on Apply and Close button and you would see below screen which shows all JAR files are configured to your project.
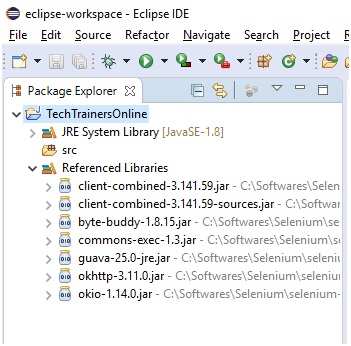
So, that’s it. We are finally done with installation of Java, Eclipse, WebDriver and mapping to project in Eclipse for your project. While leaving this chapter, by now you should be completely aware of how to do the below 4 steps:
- Installation of Java
- Installation of Eclipse
- Installation of WebDriver
- Mapping JAR’s with your project
Now we are ready for writing one simple code with Java & Selenium.
